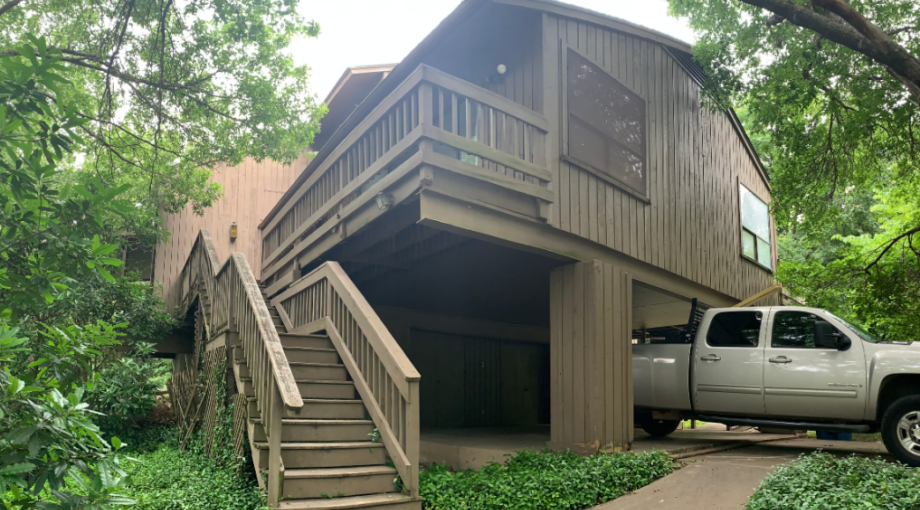
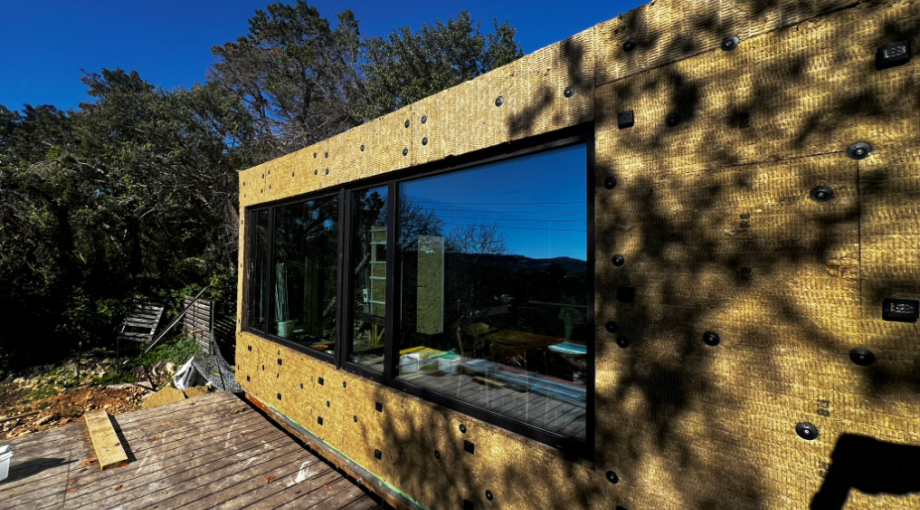
Daniel Glauser is working on a major home renovation in addition to his day job as Matt Risinger’s Executive Project Manager at Risinger Build. He and his family are living through their 1970s home in Austin, Texas while it undergoes a deep energy retrofit.
Most builders advise their clients to move out during major renovations (think mess, safety, inconvenience) but clearly they do not always take their own advice.
Daniel and his family chose to do this because the work to beef up the building envelope to passive house standards is being done from the outside in, leaving the interior relatively untouched.
Experts agree stone wool insulation is the secret for design success
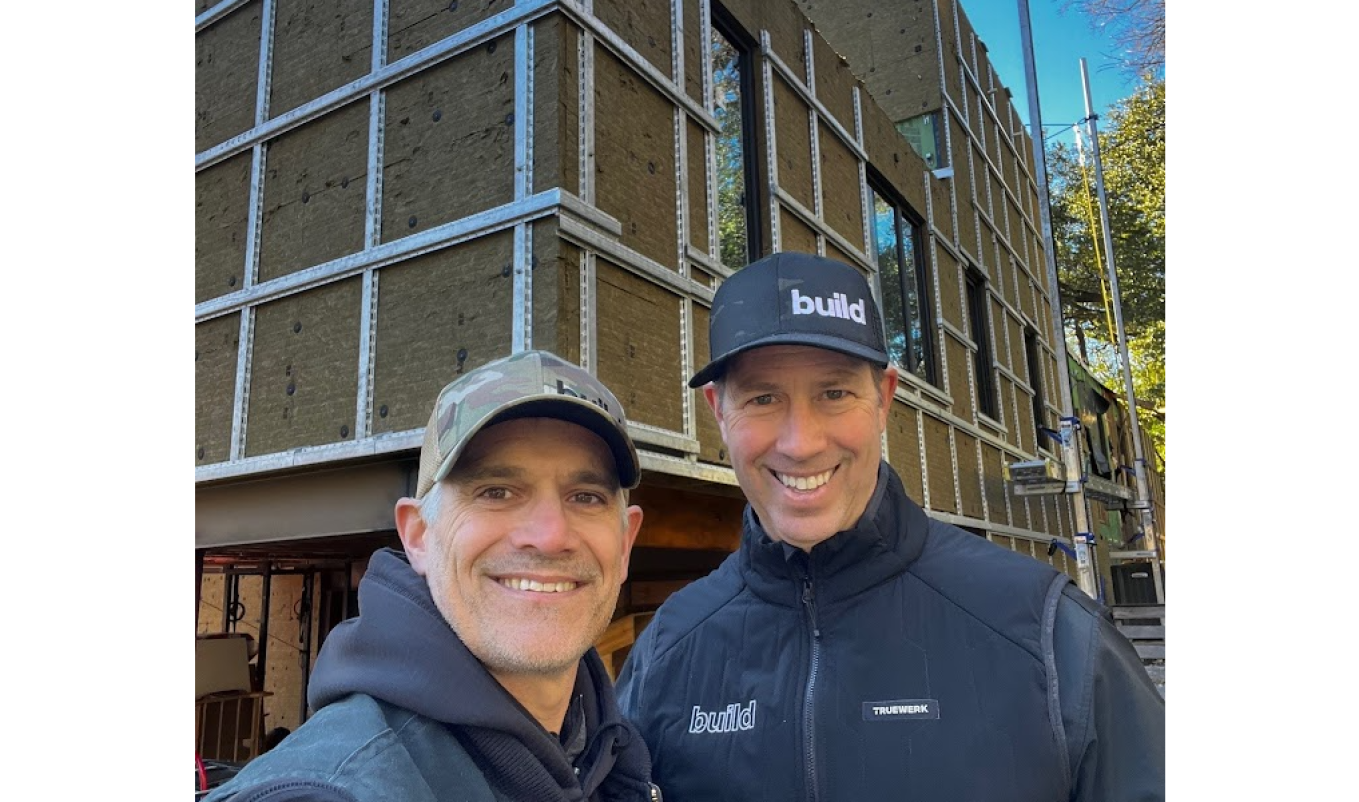
The project is being chronicled for The Build Show. While filming this episode of The Outside-In Remodel, Daniel and Matt were joined by two other Build Show experts—Steve Baczek and Zack Dettmore.
The group walked through Daniel’s plans for the retrofit, including how he’s planning to incorporate ROCKWOOL stone wool insulation in multiple assemblies to achieve passive house standards.
I have been using ROCKWOOL stone wool insulation for many years; I trust it and know how it will perform.– Daniel Glauser, Risinger Build Senior Project Manager
ROCKWOOL Comfortbatt® R15 is going in between the studs in the exterior walls and a 2” layer of continuous insulation with ROCKWOOL Comfortboard® 80 (R8.4) is going around the entire house—for a total R23.4. And some of the interior walls are getting ROCKWOOL Safe’n’Sound® to reduce sound transmission between rooms, too.
He’s using Comfortbatt R38 in between the floor joists and below the roof deck in between the rafters. The roof is also getting a 3” layer of ROCKWOOL Comfortboard 110 for a total of R50. The effective R-value is even higher because of the proportion (30%) applied to the exterior.
"I have been using ROCKWOOL stone wool insulation for many years; I trust it and know how it will perform," says Daniel.
The Perfect Wall
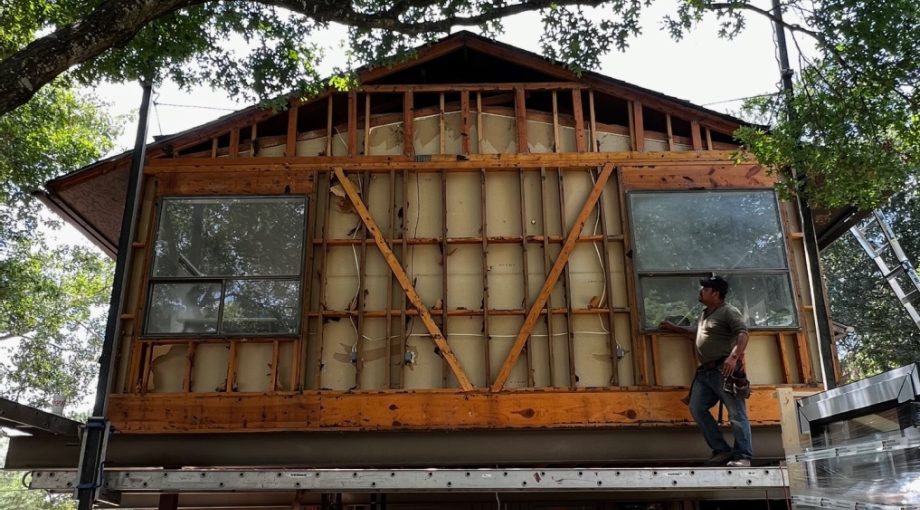
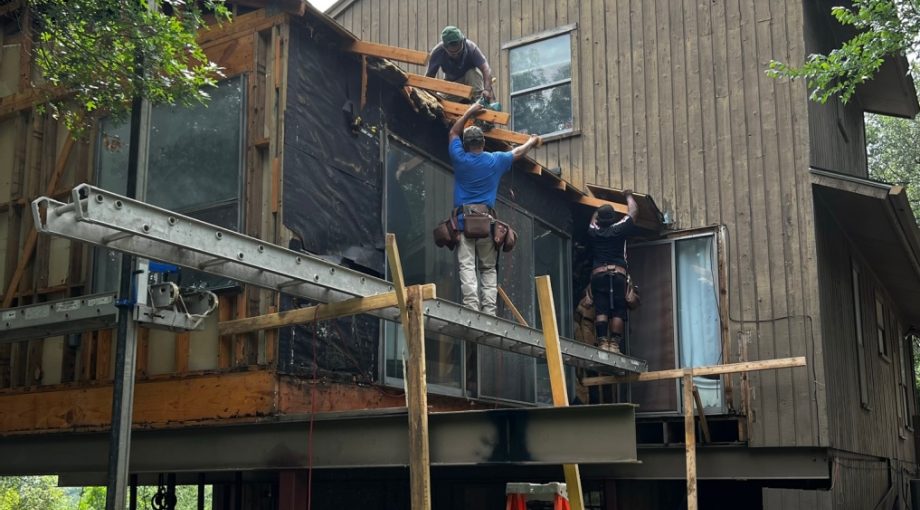
After removing the old painted cedar siding, tar paper, and early generation mineral wool insulation (not ROCKWOOL), Daniel’s crew began reassembling the exterior walls for greater energy efficiency and to ensure adequate drying ability.
They call it a chainsaw retrofit because they literally cut the original unsheathed exterior assembly away. Steve says, "It's a chainsaw retrofit meets the Perfect Wall meets passive house project."
Pest resistance—both termites and rodents—was another objective. Designing and assembling the Perfect Wall, including stone wool insulation in between the studs and a layer of continuous insulation wrapping around the house, will help him meet all of those objectives, and more.
It’s a Chainsaw retrofit meets the Perfect Wall meets passive house project.– Steve Baczek
Daniel says using ROCKWOOL stone wool insulation throughout this project was an easy decision for him. "I’m definitely interested to see what this effort will produce, and how it will affect our comfort overall," he adds.
He listed off for Matt, Steve, and Zack the many reasons he likes stone wool for this project, including:
- It maintains a stable R-value.
- It’s an active thermal control layer.
- It’s flame resistant.
- Inherent moisture resistance means it doesn’t promote mold growth.
- It resists pests from the outside—from termites to rodents.
- Its drying ability.
- ROCKWOOL has a wide spectrum of products available for the interior and exterior, under floors and roofs as well as in the walls.
- A readily available technical building science team offers whole-home solutions.
I’m definitely interested to see what this effort will produce, and how it will affect our comfort overall.– Daniel Glauser
We’ve captured it all
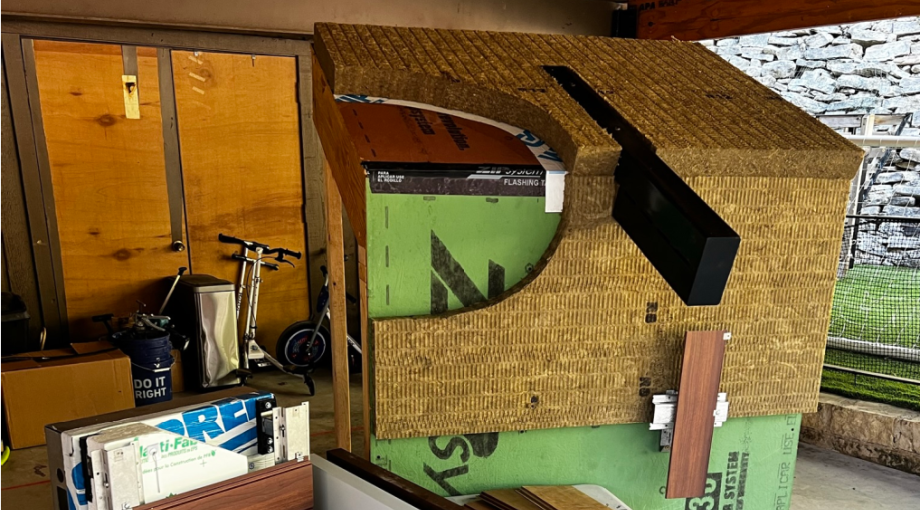
The episode contains even more valuable information that builders can learn from, including why Daniel built a mock-up of the new wall assembly.
Matt, Steve, and Zack all agreed it’s wise to take this extra step, as a mock-up can help guide crews on the critical installation details of all the control layers around windows, etc. It’s also useful in demonstrating how they’ll be installing siding over top of the Comfortboard.
Watch the follow-up video on the project that’s also available now. Or check out The Build Show webinar where Matt and Daniel talk even more about the project in-depth.
Assembly details
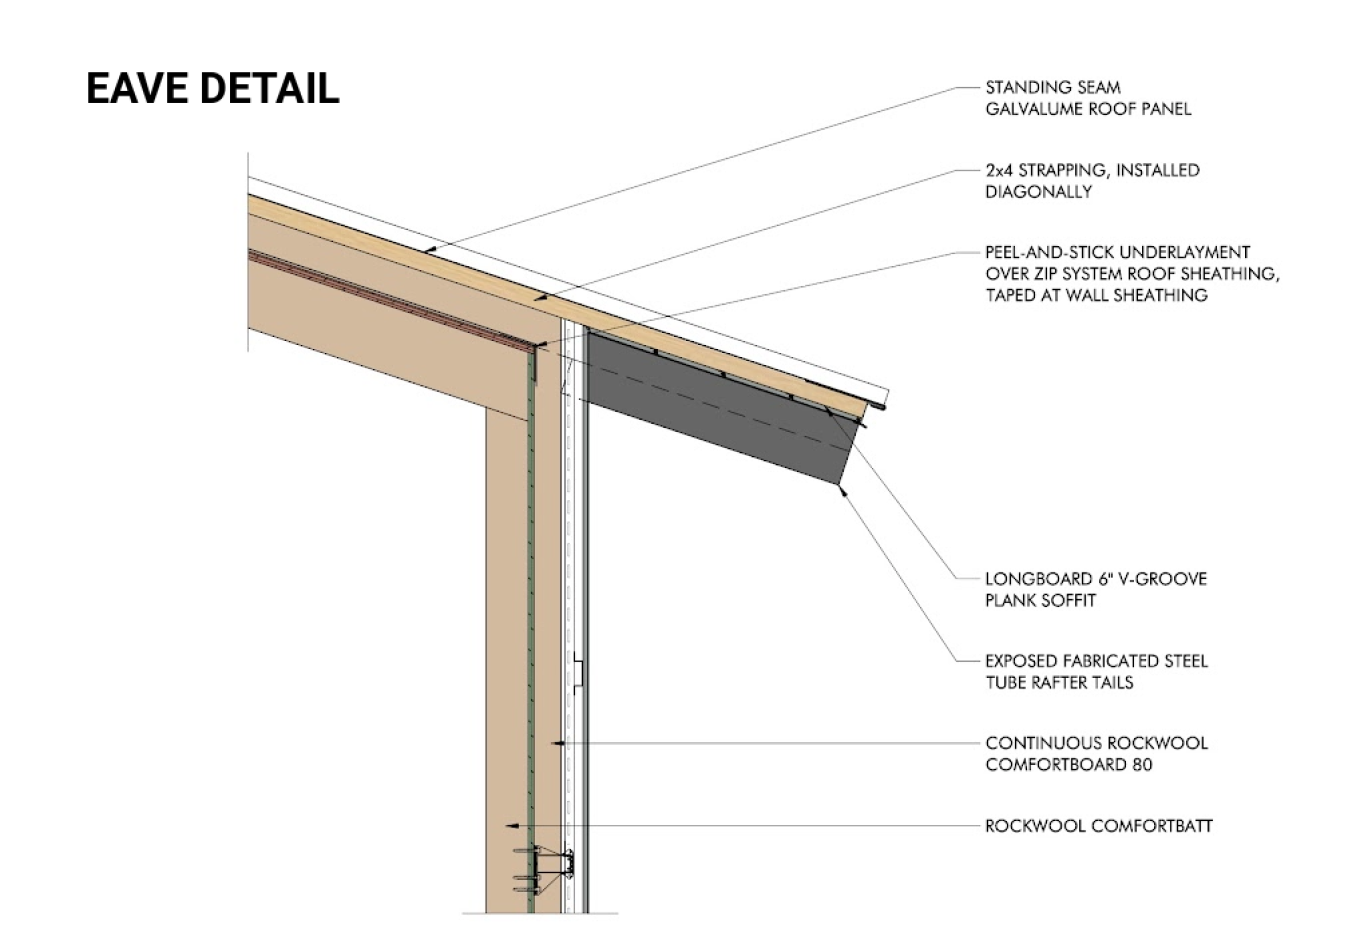
Roof detail:
- Standing seam, galvalume roof panel
- 2x4 strapping, installed diagonally
- Peel-and-stick underlayment over ZIP system roof sheathing, taped at wall sheathing
- Longboard 6” V-Groove plank soffit
- Exposed fabricated steel tube rafter tails
- 3” continuous ROCKWOOL Comfortboard 80
- ROCKWOOL Comfortbatt R38
- Combined R-50, with even higher effective R-value because of the proportion (30%) applied to the exterior
Wall/floor detail:
- 2x4-framed wall with ROCKWOOL Comfortbatt R15 cavity insulation
- 7/16” ZIP system sheathing
- 3/4" Advantech X-Factor sub-floor
- 2x12-framed floor with ROCKWOOL Comfortbatt R38
- ZIP system flashing tape
- 2” ROCKWOOL Comfortboard 80
- Longboard 6” V-Groove plank siding on dual girt system
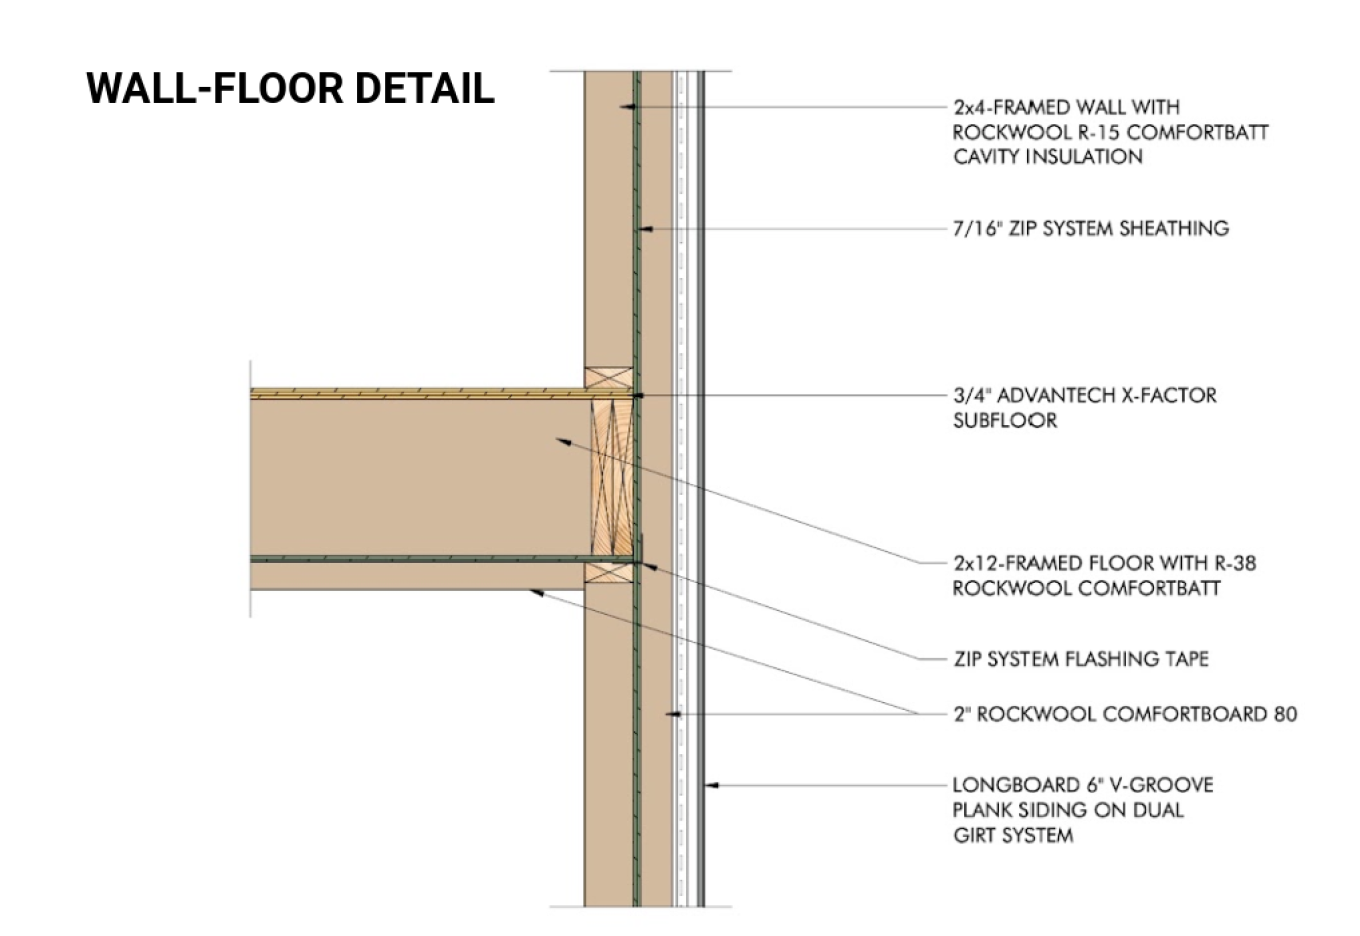
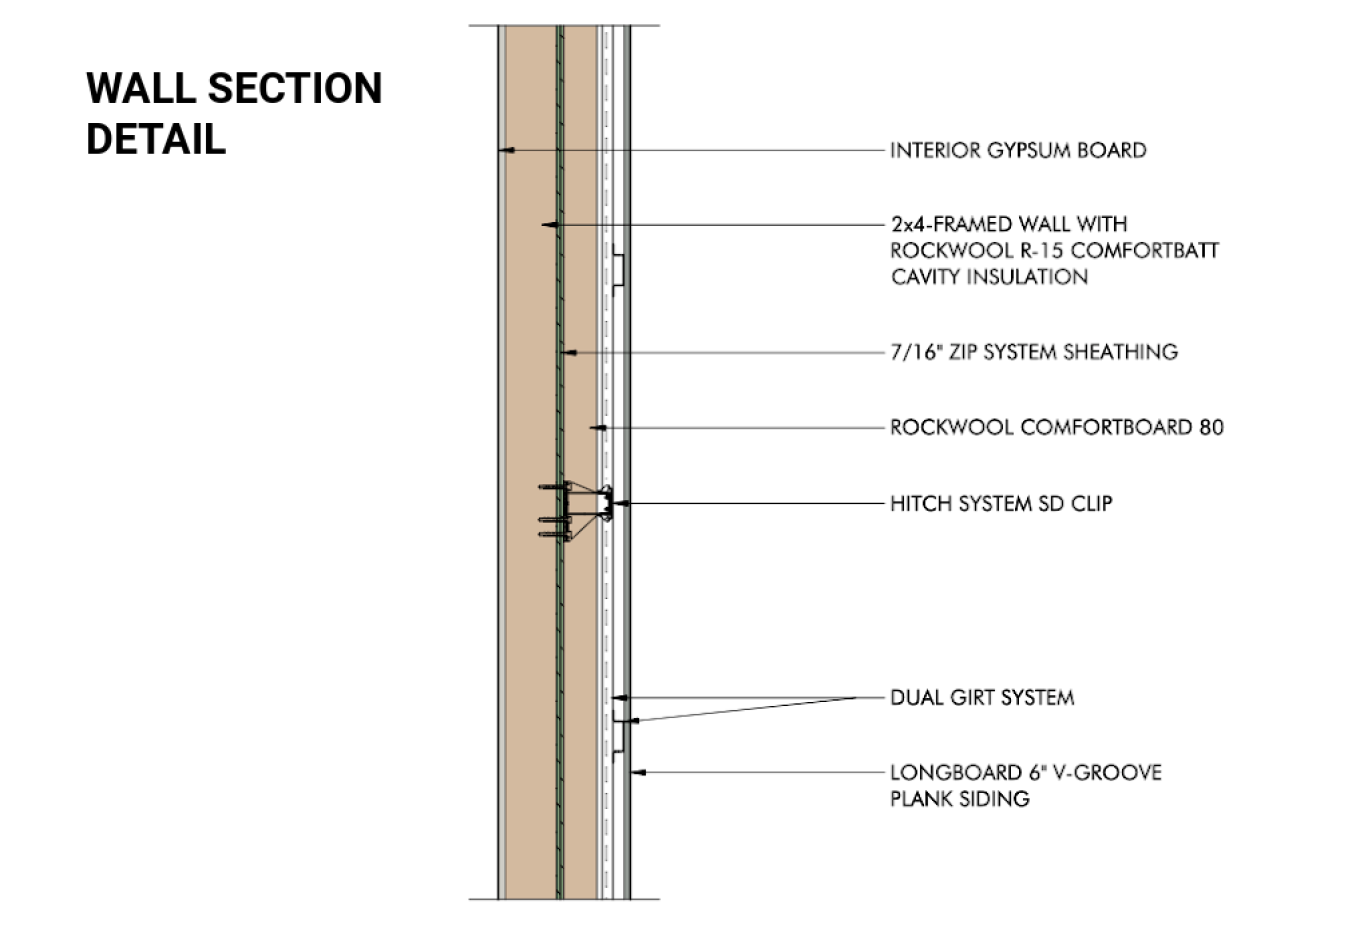
Wall section detail:
- Interior gypsum board
- 2x4-framed wall with ROCKWOOL Comfortbatt R15 cavity insulation
- 7/16” ZIP system sheathing
- 2” continuous ROCKWOOL Comfortboard 80
- Hitch system SD clip
- Dual girt system
- Longboard 6” V-Groove plank siding
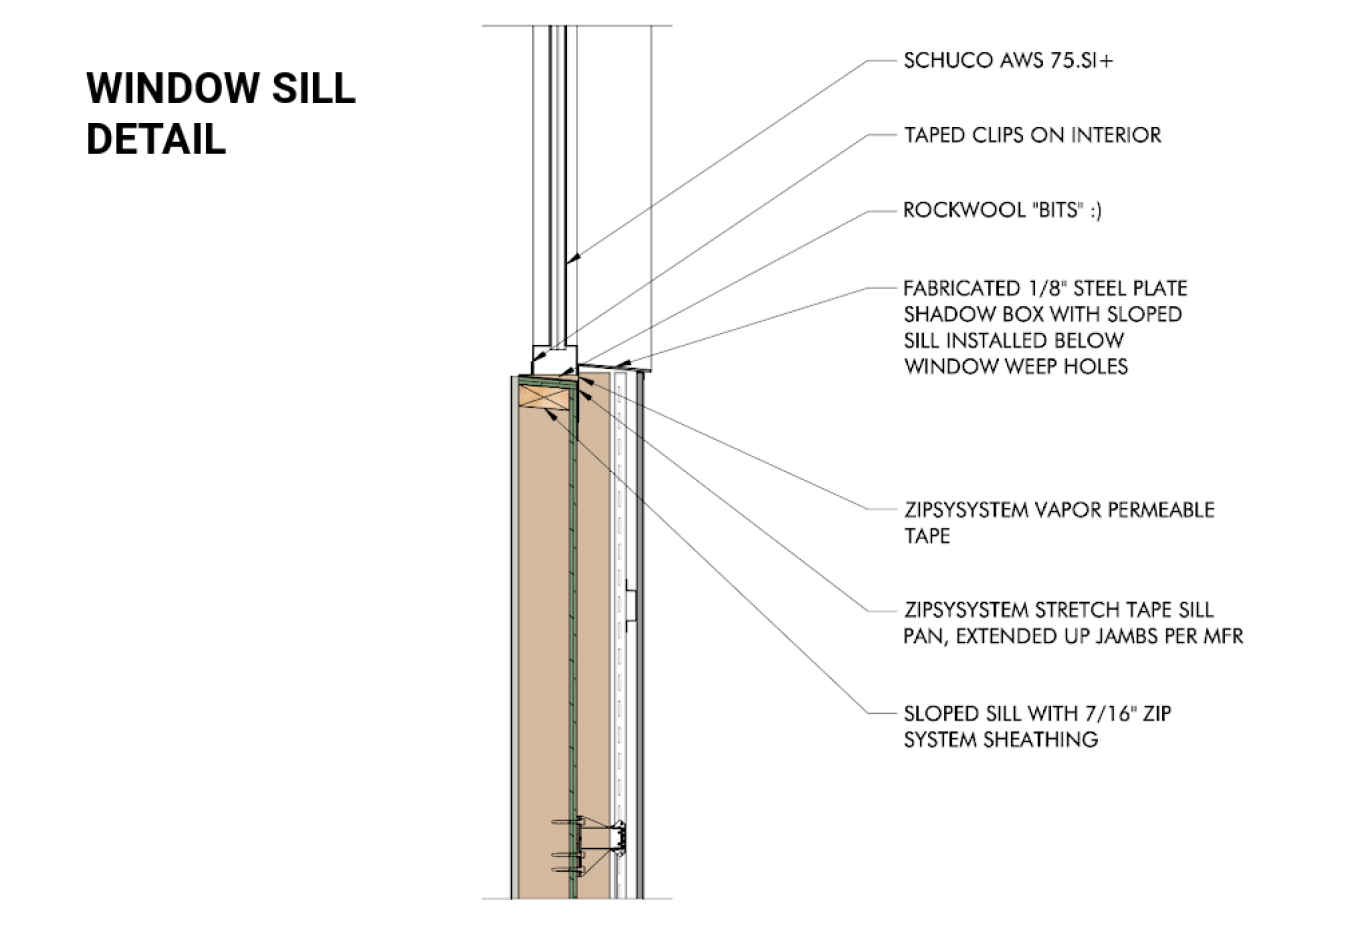
Window sill detail:
- Schuco AWS 75.SI+
- Continuous taped air barrier in interior
- ROCKWOOL Comfortbatt cavity insulation (in gaps)
- Fabricated 1/8” steel plate shadow box with shadow box sloped sill installed below window weep holes
- ZIP system vapor-permeable tape
- ZIP system stretch tape sill pan, extended up jambs, per manufacturer
- Sloped sill with 7/16” ZIP system sheathing
